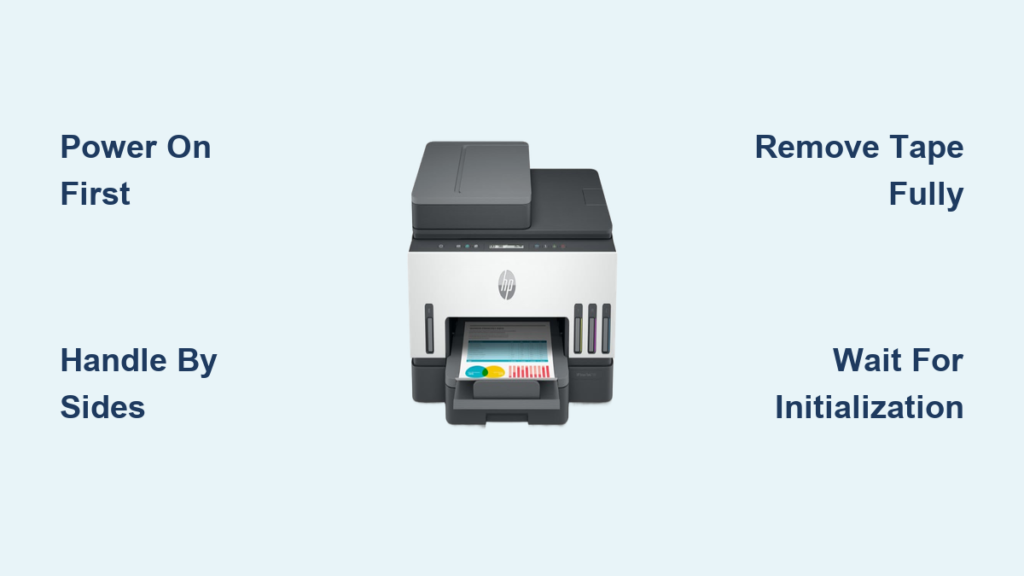
Running out of ink mid-document is frustrating, but learning how to change ink in HP printer models is actually a quick and simple task. Whether you own an OfficeJet 8015e, 6900 series, or Pro 9015, following the correct steps ensures your device recognizes new cartridges immediately.
This guide walks you through verifying ink levels, accessing specific compartments, and installing cartridges without errors. You will also learn essential troubleshooting tips to fix recognition issues and calibrate your printer for crisp, professional results.
Verify Ink Levels Before Replacing Cartridges

Checking your ink status prevents unnecessary waste and ensures you replace only the depleted colors. Modern HP printers use individual cartridges for black, cyan, magenta, and yellow, allowing precise replacements.
Check the Control Panel Display
Tap the ink droplet icon on your printer’s home screen to view estimated levels. The display clearly marks which cartridges are “Low” or “Empty” so you can target the right one.
Avoid Replacing Full Cartridges
Never assume all colors are gone just because one is low. Replacing full cartridges wastes money since systems like the HP 902 or 962 allow single-color swaps.
Prepare Your Workspace and Printer Safely
Proper preparation protects your printer internals and ensures a smooth installation process. Taking a moment to set up correctly avoids common mechanical errors.
Keep the Printer Powered On
Always leave the printer turned on before opening any lids or doors. This allows the print carriage to move to the center automatically, whereas a powered-off printer keeps the carriage parked and vulnerable to damage.
Set Up a Clean Area
Place new cartridges face up on a paper-covered surface to catch potential leaks. Have a lint-free cloth ready to clean electrical contacts if dust or residue appears.
Handle Cartridges with Care
- Do not touch the gold electrical contacts or copper strips with your fingers.
- Skin oils can disrupt communication between the cartridge and the printer.
- Gently wipe dirty contacts with a dry cotton swab if necessary.
Access the Ink Compartment by Model Type

Access methods vary significantly between HP OfficeJet models, so identifying your specific entry point is crucial. Using the wrong method can damage hinges or internal components.
Top Lid Method for OfficeJet 8015e
Lift the top front lid marked with the printer icon. The print carriage will slide to the center automatically, so wait until it stops moving completely before touching anything.
Top Cover Method for OfficeJet 6900 Series
Open the top cover on models like the 6954, 6968, and 6978. The carriage shifts to the middle position, giving you clear access to the cartridge slots.
Front Door Method for OfficeJet Pro 9015
Pull down the front access door located on the upper right side of the printer. This front-load design saves space and moves the carriage into position once opened.
Remove the Depleted Ink Cartridge Correctly
Once the carriage is centered, you must release the old cartridge using the specific mechanism for your model. Applying force incorrectly can break the locking tabs.
Push Down and Pull for 8015e
Press down gently on the top of the old cartridge until you feel it unlock. Pull the cartridge straight out without tilting or yanking it sideways.
Press Front Tab for 6900 Series
Locate the small front tab on the cartridge and push it inward. The cartridge will pop up slightly, allowing you to lift it out carefully.
Push and Slide for Pro 9015
Press the front of the cartridge to release the lock mechanism. It will slide forward slightly, allowing you to grasp the sides and pull it toward you.
Pro Tip: Place removed cartridges in a sealed bag immediately if you plan to recycle them. Leaving nozzles exposed to air dries out remaining ink.
Install the New HP Ink Cartridge

Proper installation ensures the printer recognizes the new ink and delivers optimal print quality. Skipping preparation steps here often leads to error messages.
Unpack and Remove Protective Seals
Remove the new cartridge from its packaging and peel off all protective tape. On HP 6900 series cartridges, you must also remove the plastic clip from the bottom to prevent flow blockage.
Align Cartridge by Color and Size
Match the color icon on the cartridge to the slot label inside the printer. Note that in the HP 962 series, the black cartridge is physically larger than the color ones, so never force it into a color slot.
Insert Until You Hear a Click
Slide the cartridge into the slot firmly and straight. Push until you hear a distinct click, which confirms the locking mechanism has engaged.
Warning: Never force a cartridge into a slot. Misalignment can damage the printhead or break the cartridge plastic.
Close the Printer and Initialize the System
Closing the printer triggers the initialization sequence required to prime the new ink supply. Interrupting this process can lead to incomplete setup.
Secure the Lid or Door Firmly
Shut the top lid, top cover, or front door until it latches completely. An open or loose door will trigger error messages and stop the initialization cycle.
Wait for the Priming Cycle
The printer will automatically run a priming cycle that may take up to a minute. You will hear mechanical noises and see lights flashing, so do not turn off the device during this time.
Resolve Cartridge Recognition Warnings
Your printer may display warnings after installation, especially if you are using remanufactured or third-party ink cartridges.
Address Non-Genuine Cartridge Messages
If the screen shows “Non-genuine HP cartridges installed,” simply press “OK,” “Continue,” or “Confirm.” This message does not stop printing, and quality remanufactured cartridges still track ink levels accurately.
Troubleshoot Persistent Errors
If the printer still fails to recognize the cartridge, reopen the lid and remove the item. Clean the gold contacts with a dry lint-free cloth and reinsert it firmly, ensuring you have the correct model number like HP 902 or 962.
Calibrate and Clean the Print Head
New cartridges require calibration to prevent streaks, smudges, or misaligned text on your documents. Skipping this step often results in poor print quality.
Run Automatic Alignment
If the printer prompts “Align printer?”, load plain white paper and press OK or Start. The device will print and scan an alignment page automatically to adjust the printhead.
Manually Align If Needed
If no prompt appears or print quality looks poor, navigate to Settings > Tools > Align Printer on the control panel. Follow the on-screen instructions to complete the process manually.
Perform Cartridge Cleaning
If you see missing lines or streaks, go to Settings > Tools > Clean Cartridges. Run the cleaning cycle and print a test page, but limit this to three times to avoid wasting ink.
Fix Common Post-Installation Errors
Even with careful installation, issues like error messages or strange symbols can occur. Knowing how to resolve them quickly saves time and frustration.
Resolve “Cartridge Missing” Errors
This error often means protective tape remains on the cartridge or it is not fully seated. Recheck that all tape is removed and reinstall the cartridge until it clicks securely.
Correct Print Quality Issues
Blurry text or off-color prints usually require a Print Head Alignment or Cartridge Cleaning cycle. Restarting the printer can also reset internal memory and clear minor glitches.
Fix Strange Symbols on Display
If the screen shows Chinese characters or random symbols, the cartridge is likely loose or the door is unlatched. Open the lid, reseat the cartridge firmly, and close the door completely.
Identify Your Specific Cartridge Model
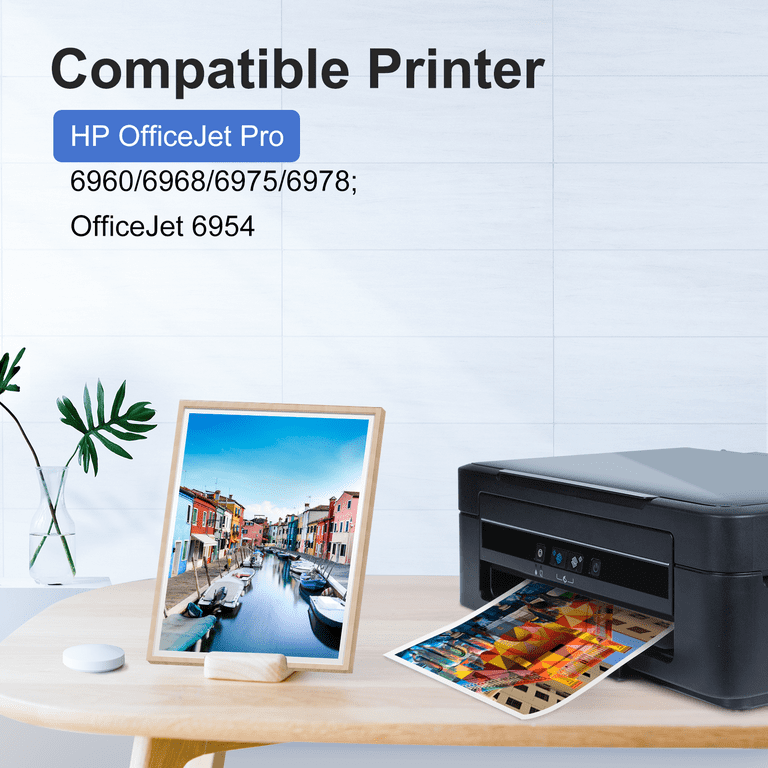
Using the correct ink model is critical for compatibility and print quality. Refer to this quick guide to match your printer with the right cartridge.
| Printer Model | Cartridge Model | Access Type | Special Note |
|---|---|---|---|
| HP OfficeJet 8015e | Varies | Top Lid | Confirm model before buying |
| HP OfficeJet 6954/6968/6978 | HP 902 | Top Cover | Remove plastic clip and tab |
| HP OfficeJet Pro 9015 | HP 962 | Front Door | Black cartridge is larger |
Always verify your specific printer model number before purchasing new ink to ensure a perfect fit.
Choose Between Standard and High-Yield Ink
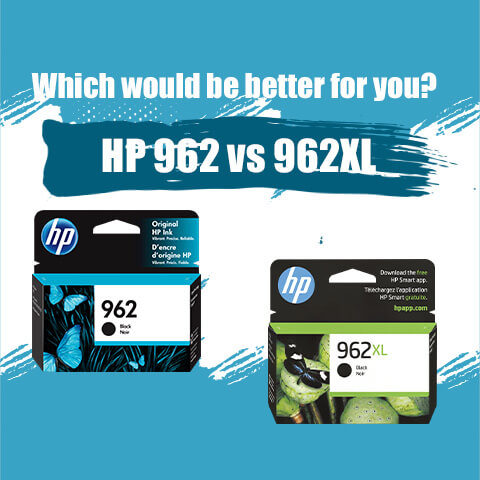
HP offers two yield options to suit different printing volumes and budget needs. Selecting the right one can save you money over time.
Standard-Yield Cartridges
These cartridges have a lower upfront cost and are ideal for light or occasional printing. You will need to replace them more frequently than high-yield options.
High-Yield Cartridges
High-yield cartridges contain significantly more ink and offer better value per page. They are highly recommended for home offices or users who print frequently.
Pro Tip: Switching to high-yield cartridges reduces replacement frequency and long-term costs for busy households.
Maintain Printer Health After Ink Changes
Proper maintenance extends the life of your printer and keeps your print quality consistent. Simple habits prevent clogs and mechanical failures.
Store Unused Cartridges Properly
Keep spare cartridges sealed in their original packaging until needed. Exposure to air dries out ink nozzles and ruins the cartridge before use.
Print Regularly to Prevent Clogs
Print a test page weekly even if you do not need a document. This keeps ink flowing through the nozzles and prevents drying.
Recycle Old Cartridges Responsibly
Use HP’s Planet Partners recycling program or local e-waste drop-offs for disposal. Never throw used cartridges in the regular trash to help reduce environmental impact.
Frequently Asked Questions About Changing HP Printer Ink
Why does my printer say the cartridge is missing after I installed it?
This usually happens if protective tape was not fully removed or the cartridge is not seated correctly. Remove the cartridge, check for tape, clean the gold contacts, and reinsert it until you hear a click.
Can I use non-HP ink cartridges in my printer?
Yes, you can use remanufactured or third-party ink, but the printer may display a “Non-Genuine” warning. Press “OK” or “Continue” to proceed, as this message does not stop printing functionality.
How do I know if I need HP 902 or HP 962 ink?
The HP 902 is for the OfficeJet 6900 series, while HP 962 is for the OfficeJet Pro 9000 series. Check your printer model number or the label on your old cartridge to confirm the correct type.
What should I do if my prints have streaks after changing ink?
Streaks indicate the printhead needs calibration or cleaning. Navigate to Settings > Tools > Clean Cartridges and run the utility, then perform a print head alignment.
Is the black cartridge the same size as the color cartridges?
For the HP 962 series (OfficeJet Pro 9015), the black cartridge is physically larger than the color ones. For most other series like HP 902, they are the same size but differ by color labeling.
How often should I replace my ink cartridges?
Replacement frequency depends on your printing volume and whether you use standard or high-yield cartridges. Monitor the ink droplet icon on your control panel for accurate “Low” or “Empty” alerts.
Key Takeaways for Changing Ink in HP Printer
Changing ink in your HP printer is a straightforward process when you follow the specific steps for your model. Remember to keep the printer powered on during replacement, remove all protective seals, and wait for the distinct click to ensure proper installation.
Regular maintenance like alignment and cleaning ensures your documents look professional every time. Now that you know exactly how to change ink in HP printer devices, you can handle replacements confidently and keep your printing tasks running smoothly.