Streaky prints, missing colors, or blank pages despite full ink levels? You’re likely dealing with a clogged printer ink cartridge. This common issue strikes most inkjet printers, especially after periods of inactivity when ink dries inside the nozzles. The good news: you can often fix it yourself without replacing the cartridge. Whether you own an HP, Canon, or Epson, this guide delivers proven methods to restore clean, crisp printing.
Below, you’ll learn how to identify a clog, run safe cleaning cycles, and use manual techniques like warm water soaks and alcohol solutions. You’ll also discover how to prevent clogs before they start and when it’s time to replace your cartridge.
Identify the Clog Early
Catching a clog early saves time and ink. Don’t wait for total print failure.
Spot Common Clog Symptoms
Watch for these red flags:
– Faded or patchy text and images
– White streaks across printed pages
– Missing color bands, such as no blue in skies
– Ink smears or inconsistent output
– Complete lack of ink from one or more nozzles
Run a nozzle check from your printer’s software or control panel. It prints a test pattern showing which nozzles are blocked. If lines are broken or missing, cleaning is needed.
Confirm It’s Not Low Ink
Before cleaning, verify ink levels via your printer’s status menu. Replacing low ink is faster than cleaning a clog. But if levels are full and quality is poor, dried ink is the culprit.
Run Built-in Cleaning First
Always start with your printer’s automated tools. They’re safe and effective for mild clogs.
Use Printer Software Tools
Access cleaning functions through:
– Your printer control panel under Maintenance or Settings
– Computer software like HP Smart or Epson Printer Utility
Steps:
1. Open printer settings
2. Select Clean Printheads
3. Wait for the cycle to complete (takes 1–2 minutes)
4. Print a nozzle check to assess results
Repeat once or twice if needed. Avoid excessive cycles, as they waste ink.
Avoid Cleaning on Low Cartridges
Running automated cleans uses significant ink. If levels are low, you risk damaging the printhead by running it dry. Refill or replace first.
Check Your Printhead Type

Your cleaning method depends on where the printhead is located.
Cartridge-Integrated Printheads (HP, Canon)
- Nozzles sit on the bottom of the cartridge
- Common in HP and many Canon models
- You can clean the cartridge directly
Printer-Integrated Printheads (Epson, Some Canon)
- Printhead lives inside the printer
- Cartridges only supply ink
- Nozzles are not on the cartridge
Critical Warning: Soaking Epson-style cartridges does nothing. Use the printer’s built-in cleaning cycle or clean the internal printhead manually instead.
Warm Damp Paper Towel Method
Best for light clogs, this gentle technique loosens dried ink safely.
How to Loosen Dried Ink
What You Need:
– Paper towel
– Warm (not hot) water
– Gloves (optional)
Steps:
1. Dampen a paper towel with warm water and wring out excess
2. Fold it into quarters for stability
3. Place the cartridge face-down on the towel with nozzles touching
4. Let it sit for 30 seconds
5. Gently slide the cartridge back and forth 5–6 times
6. Wipe the bottom with a dry towel
7. Reinstall and test print
Repeat until solid color bars appear on the paper towel.
Pro Tip: Warm water dissolves dried ink better than cold. Never use boiling water, since it can warp plastic.
Warm Water Soak and Wipe
For moderate clogs that resist the towel method.
Soak Only the Printhead
What You Need:
– Shallow dish
– Warm distilled water
– Paper towel
Steps:
1. Pour ½ inch of warm distilled water into the dish
2. Place the cartridge face-down, submerging only the nozzles
3. Soak for 15 seconds maximum
4. Remove and slide across a dry paper towel
5. Check for color output
6. Repeat 2–3 times if needed
Warning: Never submerge the entire cartridge. Water in the vents or contacts can ruin it.
Press and Dry Technique
Uses pressure to draw out dried ink, making it ideal for stubborn nozzles.
Draw Out Dried Ink Safely
Steps:
1. Place the cartridge face-down on a warm, damp paper towel
2. Tap gently to loosen ink
3. Transfer to a dry towel
4. Press firmly for 2–3 minutes
5. Slide gently to pull ink through nozzles
6. Reinstall and test
This method mimics the printer’s natural ink flow, helping restart clogged channels.
Clean with Cotton Swabs
For surface-level blockages and precision cleaning.
Wipe Nozzles Without Damage
What You Need:
– Cotton swab or lint-free cloth
– Warm distilled water
Steps:
1. Dampen the swab without soaking it
2. Gently wipe the metal nozzle strip at the bottom
3. Avoid electrical contacts (gold or copper strips)
4. Don’t scrub; wipe lightly
5. Dry with a clean towel before reinstalling
Note: Use distilled water only. Tap water leaves mineral deposits that worsen clogs.
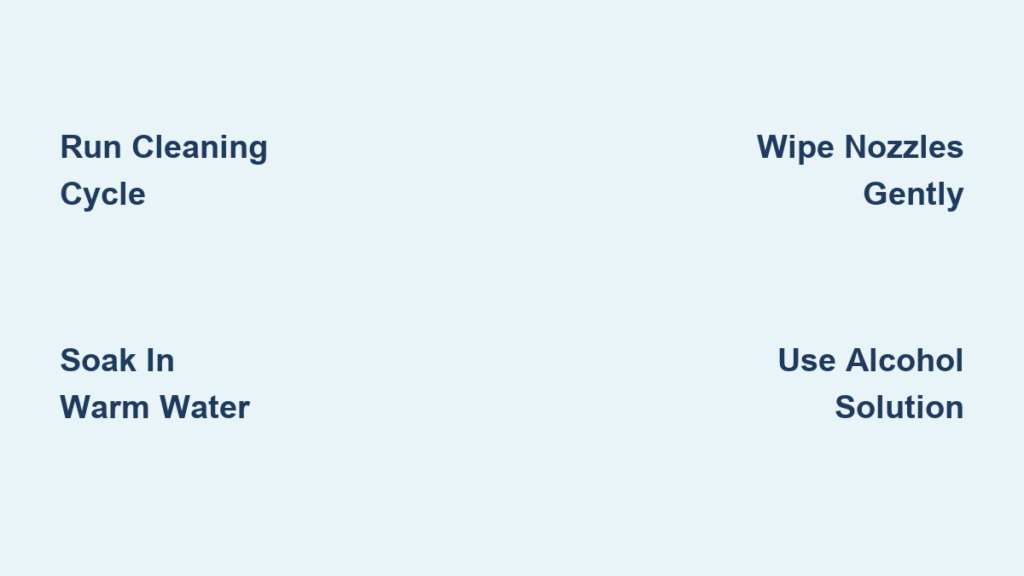
Soak in Water and Alcohol Solution
For severe clogs, this combo dissolves tough dried ink.
Mix Safe Cleaning Solution
What You Need:
– Distilled water
– Isopropyl alcohol (90% or higher)
– Shallow dish
– Gloves
Solution:
– Mix equal parts water and alcohol
Steps:
1. Submerge only the printhead in solution
2. Soak for 2 minutes
3. Dab dry with paper towel
4. Slide across a dry towel to test ink flow
5. Reinstall and run a nozzle check
Pro Tip: Alcohol breaks down dried ink fast, but don’t overuse it. It can degrade rubber seals over time.
Overnight Soak (Last Resort)
If the clog persists, soak overnight in the water-alcohol mix. Check in the morning, rinse with distilled water, and dry completely.
Try Syringe Flushing (Advanced)
For users comfortable handling cartridges.
Flush Ink Channels Safely
What You Need:
– Small syringe (no needle)
– Distilled water
– Sink or towel
Steps:
1. Remove the cartridge
2. Locate the ink inlet (top vent or fill hole)
3. Insert the syringe tip gently
4. Slowly inject a few drops of water
5. Let water push dried ink out the nozzles
6. Wipe and dry before reinstalling
Warning: Too much pressure can burst the ink chamber. Use gentle, steady force.
Clean Internal Printheads (Epson, Some HP)
For printers with separate printheads, clean inside the machine.
Manual Printhead Cleaning
What You Need:
– Lint-free cloth
– Distilled water
– Gloves
Steps:
1. Turn on the printer and open the access door
2. Wait for the carriage to center, then unplug the printer
3. Remove cartridges
4. Dampen a cloth with distilled water
5. Gently dab the printhead contacts inside the printer
6. Absorb excess ink with a dry cloth
7. Let dry for 10 minutes
8. Reinstall cartridges, plug in, and run a test
Do Not Scrub: Wipe gently. Scratching damages delicate nozzles.
Use Software Cleaning Tools
Automated cycles are your first line of defense.
HP Clean Printhead Tool
Steps:
1. Go to Control Panel > Devices and Printers
2. Right-click your HP printer
3. Select Printer Properties
4. Go to Printing Preferences > Services
5. Click Clean Printhead
6. Run a nozzle check afterward
Repeat once if needed. Avoid overuse, since each cycle consumes ink.
Test After Cleaning
Always verify results before assuming success.
Run a Nozzle Check
Print a nozzle pattern:
– Full, unbroken lines mean success
– Gaps or missing colors mean repeat cleaning
If you see no improvement after 3 attempts, the printhead may be permanently damaged.
Check All Colors
Ensure black, cyan, magenta, and yellow all print clearly. A single blocked color means residual clog.
Troubleshoot Persistent Clogs
When cleaning doesn’t work, try these fixes.
Repeat Cleaning Cycles
Try the warm soak or alcohol method 3–4 times. Some clogs take multiple attempts.
Leave Printer Off Overnight
Unplug for 8–12 hours. This lets residual ink settle and may unclog nozzles naturally.
Update Printer Firmware
Outdated firmware can cause false error reports. Check the manufacturer’s website for updates.
Replace Old Cartridges
If cleaning fails and the cartridge is over 6–12 months old, replace it. Dried ink can permanently damage nozzles.
Prevent Future Clogs
The best fix is avoiding clogs altogether.
Print Weekly
Print at least once a week, even just a test page. This keeps ink flowing and prevents drying.
Store Cartridges Properly
Keep unused cartridges:
– In a cool, dry place
– Away from sunlight
– Sealed in original packaging
– Upright to prevent leaks
Keep Printer Clean
- Dust the exterior regularly
- Avoid high-humidity areas
- Use high-quality paper to reduce debris
Safety and Warnings
Follow these rules to avoid damage.
Do’s and Don’ts
DO:
– Use distilled water
– Wear gloves to avoid stains
– Soak nozzles only
– Dry completely before reinserting
– Be gentle with contacts and nozzles
DON’T:
– Use tap water (minerals clog nozzles)
– Soak longer than 15 minutes for standard methods
– Touch electrical contacts
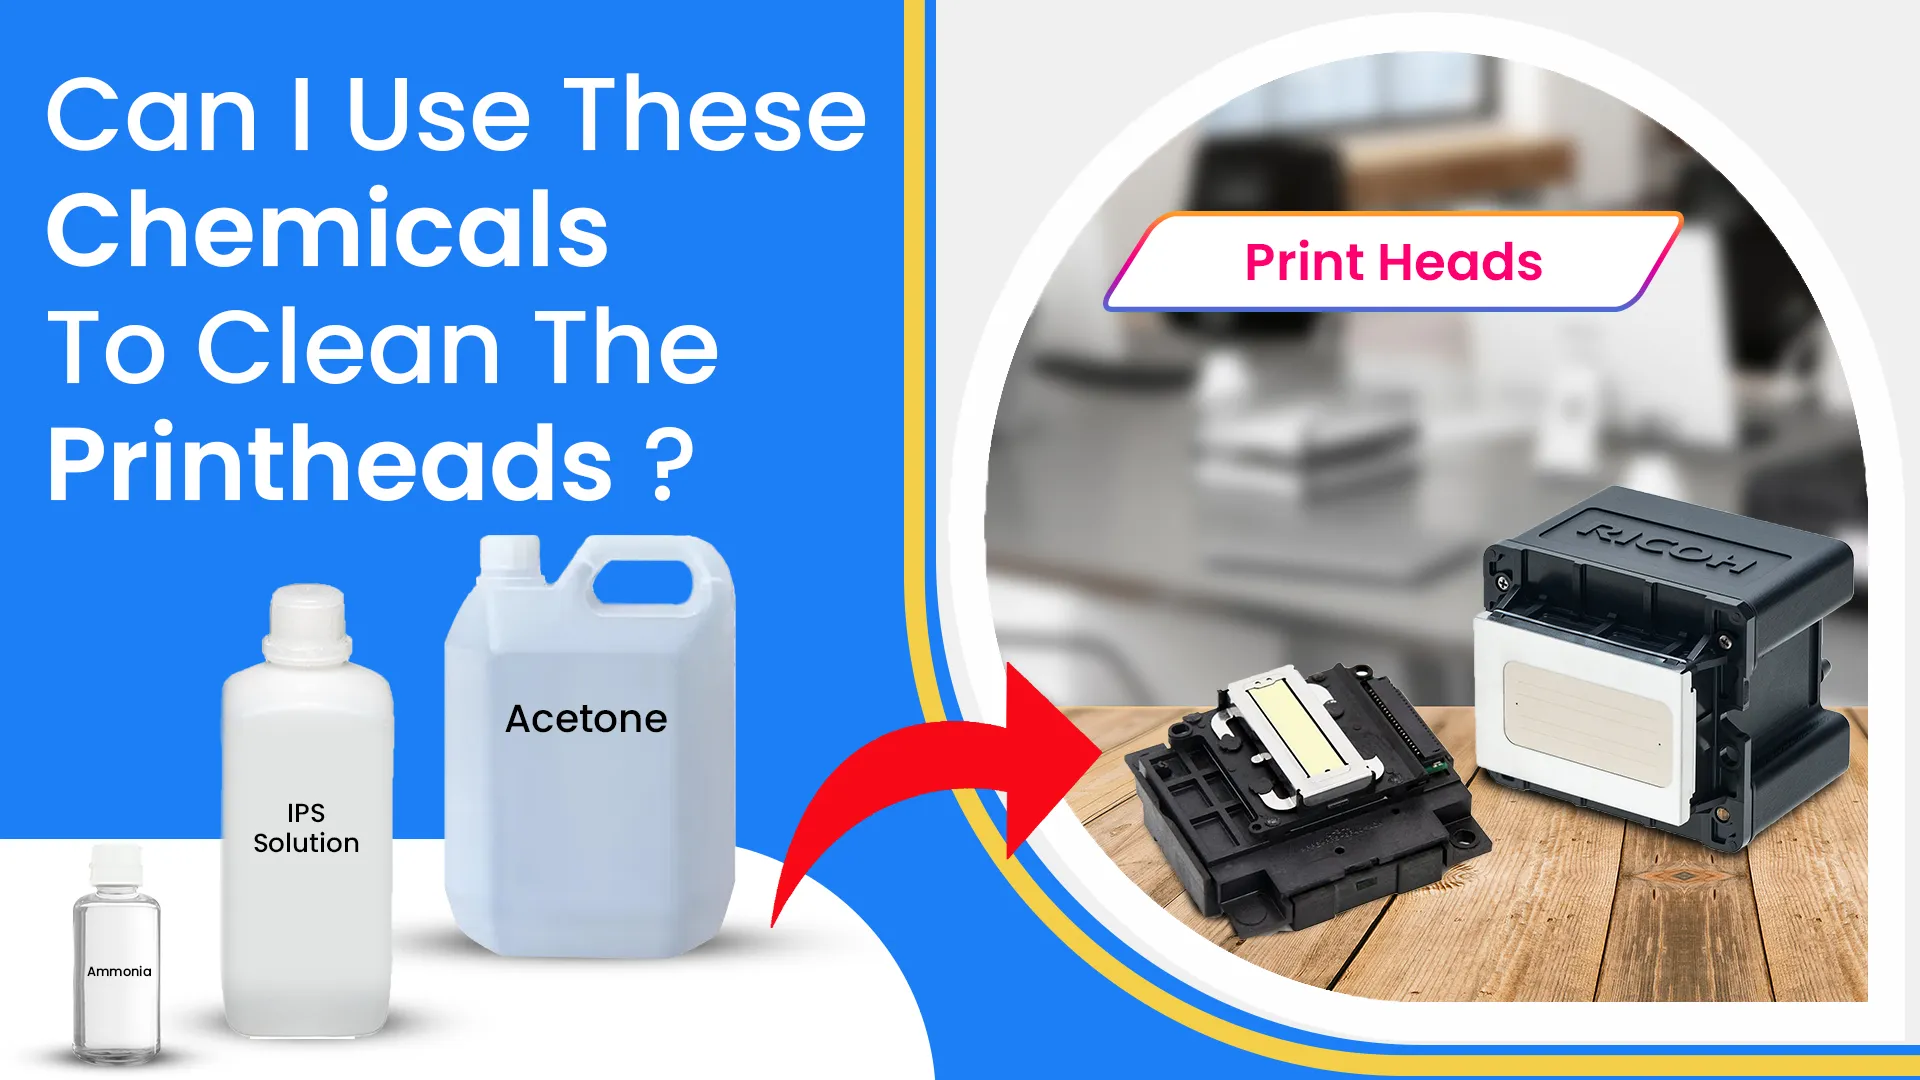
– Use harsh chemicals like acetone or bleach
– Over-clean, which can wear out printheads
Final Warning: Excessive cleaning degrades the printhead over time. If 3–4 attempts fail, replace the cartridge.
When to Replace or Seek Help
Know when to stop cleaning and move on.
Replace the Cartridge If:
- No ink flows after multiple cleanings
- Cartridge is cracked or damaged
- Printhead is visibly worn
- It’s over a year old
Call a Technician If:
- Internal printhead is faulty
- Printer shows hardware error
- You suspect physical damage
- All DIY methods fail
Frequently Asked Questions About Unclogging a Printer Ink Cartridge
Can I use tap water to clean a clogged ink cartridge?
No. Tap water contains minerals that leave deposits and worsen clogs. Always use distilled water for any cleaning method.
How long should I soak a clogged ink cartridge?
For light clogs, soak for 15 seconds in warm distilled water. For severe clogs, soak in a water-alcohol solution for 2 minutes. Overnight soaking is only for extreme cases.
Why does my printer say ink is full but won’t print?
Full ink levels with poor output usually mean dried ink is blocking the nozzles. Run a nozzle check to confirm, then start with the printer’s built-in cleaning cycle.
Can I unclog an Epson ink cartridge by soaking it?
No. Epson printers have printheads inside the machine, not on the cartridge. Use the printer’s automated cleaning cycle or manually clean the internal printhead instead.
How do I know if my cartridge is permanently damaged?
If cleaning fails after 3–4 attempts across multiple methods, the printhead is likely worn out. Also replace the cartridge if it’s cracked, over a year old, or visibly damaged.
Key Takeaways for Unclogging a Printer Ink Cartridge
Most clogged printer ink cartridges can be revived with simple home methods. Start with software cleaning, then try warm water or alcohol soaks for cartridges with built-in printheads. For Epson and similar models, clean the internal printhead instead. Prevent clogs by printing weekly and storing cartridges properly.
If all else fails, replace the cartridge. Sometimes that’s the smartest fix. With regular care, your printer can deliver sharp, reliable prints for years.