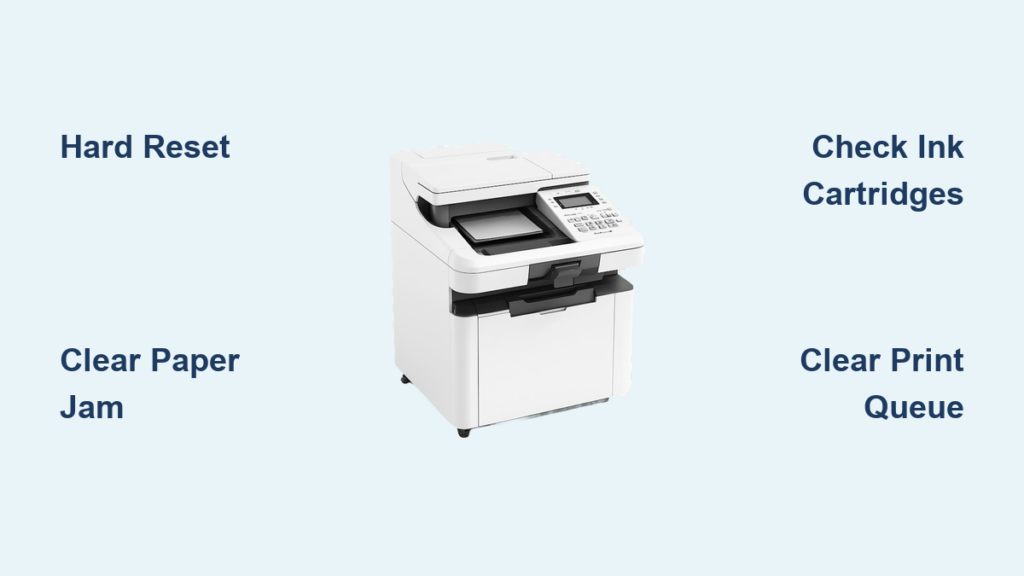
You replaced the drum unit, yet the “Replace Drum” warning persists on your Brother printer screen. This frustrating error often appears on models like the MFC-7360N or DCP-7055 because the internal counter was not manually cleared. Unlike toner cartridges, these drum units lack chips that automatically signal replacement to the machine.
This guide explains exactly how to reset drum on Brother printer models using specific button combinations. You will learn the precise steps to clear the error message and confirm your printer recognizes the new hardware. Follow these instructions to restore full printing functionality in seconds without tools.
Locate and Install the Drum Unit Correctly
Proper installation is the first critical step before attempting any reset procedure. The drum unit sits inside the printer and works with the toner to transfer images onto paper.
Open Front Cover and Remove Assembly
Pull down the front flap of your printer to access the internal components. Press the green release lever on the toner cartridge and gently slide the entire assembly out of the machine. Place the unit on a clean, flat surface away from direct sunlight to prevent damage to the sensitive drum surface.
Separate Toner From Old Drum
Locate the green locking lever on the side of the toner cartridge. Press this lever to lift the toner cartridge off the old drum unit. Carefully set the toner aside while you prepare the new drum unit for installation.
Attach Toner to New Drum
Align the toner cartridge with the new drum unit rails. Push them together until you hear a firm click or see the green lever lock into place. Reinsert the complete assembly back into the printer until it slides in smoothly and locks.
Execute the Drum Life Counter Reset

The core solution to your problem involves a specific sequence of button presses. You must perform this action while the front cover is open to access the reset mode.
Reset Steps for MFC Series Printers
Owners of MFC-7360N, MFC-7460N, MFC-7460DN, and MFC-7860DW models should follow this exact sequence. Ensure the printer is on and the front cover is open before starting.
- Open the front cover of the printer.
- Press the Clear button on the control panel.
- Press the number 1 on the keypad.
- Wait for the display to show “Accepted.”
Once “Accepted” appears, the drum counter is reset. Close the front cover to resume normal printing operations.
Reset Steps for DCP Series Printers
Users with DCP-7055, DCP-7055W, DCP-7060D, DCP-7065DN, or DCP-7070DW models use the identical method. The process remains consistent across these popular Brother laser printers.
- Lift the front cover to expose the drum area.
- Tap the Clear button on the interface.
- Enter the number 1 immediately after.
- Verify that “Accepted” displays on the screen.
This action clears the old life data and initializes the counter for your new drum unit.
Troubleshoot Failed Reset Attempts
If the screen does not show “Accepted,” the timing or sequence may be incorrect. Try the process again while ensuring you press Clear and 1 within two seconds.
- Keep the front cover fully open during the entire process.
- Avoid pressing other buttons like “Start” or “OK” during the sequence.
- Restart the printer and repeat the steps if the first attempt fails.
Some users find success by repeating the sequence twice in a row. Precision in timing is key to triggering the reset mode.
Understand Why the Replace Drum Message Appears
Knowing why this error occurs helps you understand the necessity of the manual reset. The issue stems from how Brother designs its drum units compared to other consumables.
Lack of Memory Chips on Drum Units
Many Brother drum units, such as the DR2200, do not contain memory chips. Unlike toner cartridges that communicate status wirelessly, these drums cannot tell the printer they are new. The printer relies on an internal page count rather than physical detection.
Automatic Page Count Tracking
Your printer estimates drum life based on the number of pages printed. Typically, the alert triggers after approximately 12,000 pages depending on your specific model. Even with fresh hardware, the machine continues counting from the previous total until you intervene.
Compatibility Across Drum Brands
This limitation applies to both original Brother drums and compatible third-party units. Since neither type usually includes a chip for these models, the manual reset process remains the same regardless of the brand you purchased.
Verify Model-Specific Reset Requirements

Not every Brother printer uses the same reset method, so confirming your model is essential. Using the wrong steps may result in confusion or failure to clear the error.
Models Using the Clear and One Method
The majority of older and mid-range laser printers respond to the Clear then 1 command. Common models in this category include:
- Brother MFC-7360N
- Brother MFC-7460DN
- Brother MFC-7860DW
- Brother DCP-7055W
- Brother DCP-7070DW
Check your printer label to confirm it matches one of these series before proceeding.
Models With Menu-Based Reset Options
Newer Brother series, such as the HL-L line, often utilize a menu-driven reset process. If your device has a touchscreen or advanced menu, look for Menu > Machine Info > Reset > Drum Reset.
Consult your specific user manual if the standard button combination does not work. Searching online for your exact model number plus “reset drum” can provide updated workflows for newer devices.
Avoid Common Drum Reset Mistakes

Simple errors often prevent the reset from working. Awareness of these pitfalls ensures your first attempt is successful.
Closing the Cover Prematurely
You must keep the front cover open while pressing the buttons. Closing the lid before seeing “Accepted” cancels the command immediately. The printer only enters reset mode when the cover sensor detects an open state.
Pressing Incorrect Buttons
After hitting Clear, you must press 1 specifically. Pressing “Start,” “OK,” or any other number will not trigger the reset. The sequence is strict and requires the number one input.
Ignoring the Accepted Confirmation
Do not assume the reset worked without visual proof. If “Accepted” does not appear on the display, the counter remains unchanged. Always wait for this specific message before closing the printer.
Installing Drum Without Resetting
Simply swapping the hardware is insufficient. Failing to perform the reset leaves the warning active and may eventually stop the printer from working. Always perform the reset immediately after installation.
Resolve Persistent Drum Error Messages

Occasionally, the error persists even after a correct reset attempt. Additional troubleshooting steps can help identify underlying hardware issues.
Check Drum Installation Alignment
Ensure the toner cartridge is fully seated on the drum unit. A loose connection can prevent the printer from recognizing the assembly. Remove and reinsert the unit to guarantee a secure fit.
Clean Electrical Contacts
Dust or toner residue on contact points can interfere with communication. Use a dry, lint-free cloth to gently wipe the metal contacts on the drum and inside the printer cavity.
Power Cycle the Printer
Turn the printer off completely and wait ten seconds before powering it back on. This hard reset clears temporary memory glitches. Try the reset sequence again after the machine restarts.
Update Printer Firmware
Outdated firmware can sometimes cause recognition errors. Visit the official Brother support website to check for available updates for your specific model. Installing the latest software may resolve compatibility issues.
Extend the Life of Your Drum Unit
Proper maintenance and handling can maximize the lifespan of your drum unit beyond the initial reset.
Avoid Reusing Worn Drums
While you can technically reset a cleaned old drum, print quality often suffers. Old drums may produce streaks or gray backgrounds after their intended lifespan. Brother recommends replacement after the rated page count for best results.
Store Spare Units Properly
Keep unused drum units in their original packaging until ready for use. Exposure to light, heat, or humidity can damage the photosensitive surface. Store them in a cool, dark place to preserve their condition.
Use High-Quality Toner
Low-quality or incompatible toner can accelerate drum wear. Using genuine or high-quality compatible toner cartridges helps protect the drum surface. This practice ensures consistent print quality and longer component life.
Frequently Asked Questions About Resetting Brother Drums
What does the “Replace Drum” message mean?
This message indicates the printer’s internal page counter has reached its limit for the current drum unit. It does not necessarily mean the drum is broken, but the machine requires a manual reset to recognize a new unit.
Do all Brother drum units have reset chips?
No, many common models like the DR2200 do not have memory chips. This lack of a chip is why you must manually reset the counter using the control panel buttons after installation.
How many pages does a Brother drum unit last?
Most standard Brother drum units are rated for approximately 12,000 pages. However, actual lifespan varies based on print coverage and environmental conditions.
Can I reset the drum without replacing it?
Yes, you can reset the counter on an existing drum to clear the message temporarily. However, print quality may degrade if the drum is physically worn out or damaged.
What if “Accepted” does not appear on the screen?
If the message does not show, ensure you are pressing Clear and 1 quickly while the cover is open. Repeat the process, ensuring no other buttons are pressed during the sequence.
Is the reset process different for wireless models?
The reset process is generally the same for wireless models like the DCP-7055W as it is for wired versions. The physical button combination on the device remains the primary method for resetting.
Key Takeaways for How to Reset Drum on Brother Printer

Resetting the drum counter is a quick, manual task required because many Brother drums lack automatic detection chips. By opening the cover, pressing Clear, and then 1, you can clear the “Replace Drum” error on most MFC and DCP models. Always wait for the “Accepted” confirmation to ensure the reset was successful.
Remember to keep the front cover open during the process and verify your specific model requirements. If you follow these steps correctly, your printer will resume normal operation immediately. For more complex issues or newer models, consult your specific user manual or the Brother support site.