If your 3D printer keeps clogging after twenty to thirty layers, the issue is likely heat creep rather than a simple blockage. This common problem occurs when heat travels up the hotend and softens filament prematurely in the heat break. Many users waste time cleaning nozzles while the real culprit remains unchecked thermal dynamics or aggressive slicer settings.
This guide explains how to diagnose filament tip shapes and adjust retraction distances to stop jams permanently. You will learn specific fixes like opening enclosure doors for PLA and upgrading to stainless steel heat breaks. Follow these steps to restore reliable printing and prevent material waste on your next project.
Diagnose the Clog Type by Inspecting Filament Tips
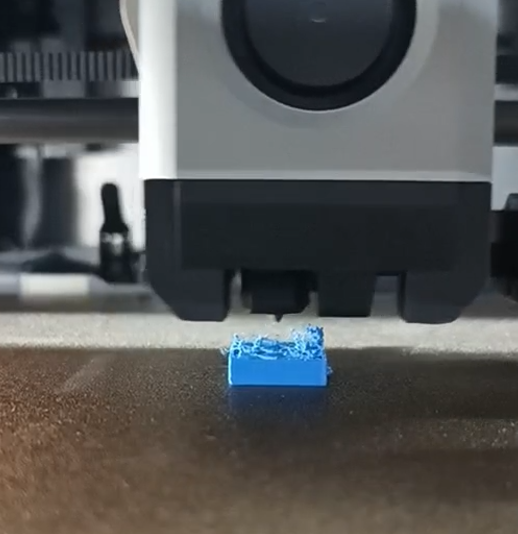
You must identify the specific type of blockage before disassembling your hotend components. Treating every jam as a dirty nozzle often leads to repeated failures and wasted effort. Inspecting the unloaded filament provides immediate clues about the root cause.
Analyze the Shape of the Unloaded Tip
Examine the end of the filament under magnification immediately after a clog occurs. The physical shape reveals exactly where the failure happened within the thermal zone.
* Flared or bulbous tip: Indicates a heat break jam where filament expanded due to premature softening.
* Shell around a solid core: Common with polycarbonate where the outer layer melted in the heat break.
* Cone-shaped tip: Suggests a successful cold pull meaning the nozzle is likely clear.
* Irregular stretched tip: Points to a failed cleaning attempt or mechanical feeding issues.
Distinguish Between Nozzle and Heat Break Jams
A nozzle clog prevents extrusion entirely even when the printer is hot. You can often fix this with a needle or cold pull technique. A heat break clog allows initial feeding but jams mid-print because the filament softens in the wrong zone. Heat break clogs are more insidious and recur unless you address the underlying thermal cause.
Stop Heat Creep From Softening Filament Prematurely

Heat creep is the primary reason a 3D printer keeps clogging especially when printing PLA. This phenomenon happens when heat migrates from the heater block into the cooling section of the hotend. The filament softens before it reaches the melt zone and expands to create a solid blockage.
Understand Why PLA Clogs So Easily
PLA has a glass transition temperature of only 60 degrees Celsius. Once the filament reaches this point it loses structural rigidity and begins to soften. The heat break must stay below this threshold to ensure smooth feeding. If ambient temperatures rise or cooling fails the filament expands and jams the system.
Keep Enclosure Doors Open for PLA Prints
Enclosed printers like Bambu Lab models trap internal heat which reduces cooling fan efficiency. Printing PLA with the door closed raises ambient temperatures by ten to twenty degrees.
* Always print PLA with the enclosure door or lid open.
* Closed enclosures worsen heat creep by preventing heat dissipation.
* Use the enclosure only for high-temperature filaments like ABS or polycarbonate.
Upgrade Your Cooling Fan System
Stock cooling fans often struggle to maintain the required thermal gradient during long prints. Installing a high-quality aluminum cooling fan acts as a secondary heat sink. This upgrade keeps the heat break below 60 degrees Celsius even in challenging environments. Monitor your heatsink temperatures mid-print and upgrade if they exceed 45 degrees.
Optimize Retraction Settings to Prevent Jams
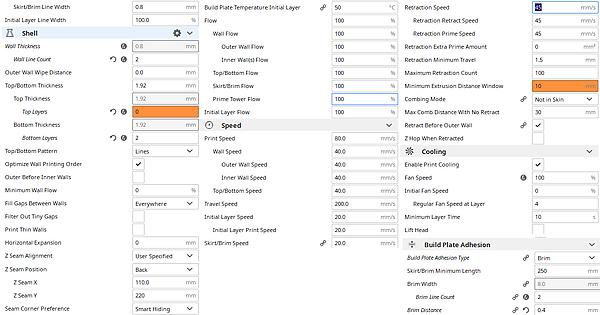
Aggressive retraction settings pull filament too far up into the hotend and expose it to excessive heat. This silent killer causes the solid end of the filament to enter the heated zone and soften. When the printer pushes the filament back down it creates an immediate blockage.
Reduce Retraction Distance to 0.6 mm
Testing shows that 0.6 mm is the optimal retraction distance for direct drive systems and sensitive hotends. This short distance reduces upward travel and keeps the filament out of the heat creep zone. Default slicer values of 4 to 6 mm are often too aggressive for modern hotend designs.
Disable Long Retraction When Cut Feature
Slicers like Bambu Studio include an experimental feature called Long Retraction When Cut. This setting causes excessive filament pull during load and unload cycles. It forces filament deep into the heat break and triggers heat creep even on the first layer. Disable this setting immediately to prevent unnecessary upward movement.
Use Manufacturer-Specific Slicer Profiles
Generic slicer profiles do not account for the unique thermal behavior of your specific hotend. Download custom profiles from your hotend manufacturer to ensure optimized settings. These profiles include precise retraction distances and temperature curves that prevent clogs before they start.
Verify Hotend Assembly and Thermal Paste Application
Even factory-standard parts will fail if you assemble them incorrectly. A tiny gap or missing layer of thermal compound can cause recurring jams regardless of other settings.
Follow the Exact Assembly Guide for Your Model
Never use a Prusa assembly guide for an E3D-V6 hotend or vice versa. Each hotend has unique torque specifications and assembly sequences. One wrong step can create a gap where molten filament escapes and solidifies. Always refer to the official documentation for your specific hardware model.
Apply Thermal Paste Correctly
Thermal paste ensures efficient heat transfer from the heat break to the heatsink. Apply a thin layer of high-quality heat sink compound at the interface between these components. Missing or dried-out paste causes heat to build up and radiate into the cold zone.
Check Nozzle Seating Procedure
The nozzle must seat properly against the heat break to maintain correct internal geometry. Tighten the nozzle against the heat break then back it off a quarter turn before securing the block. Tightening it too much alters the melt zone while leaving it loose creates gaps for leakage.
Upgrade Critical Components for Clog Resistance
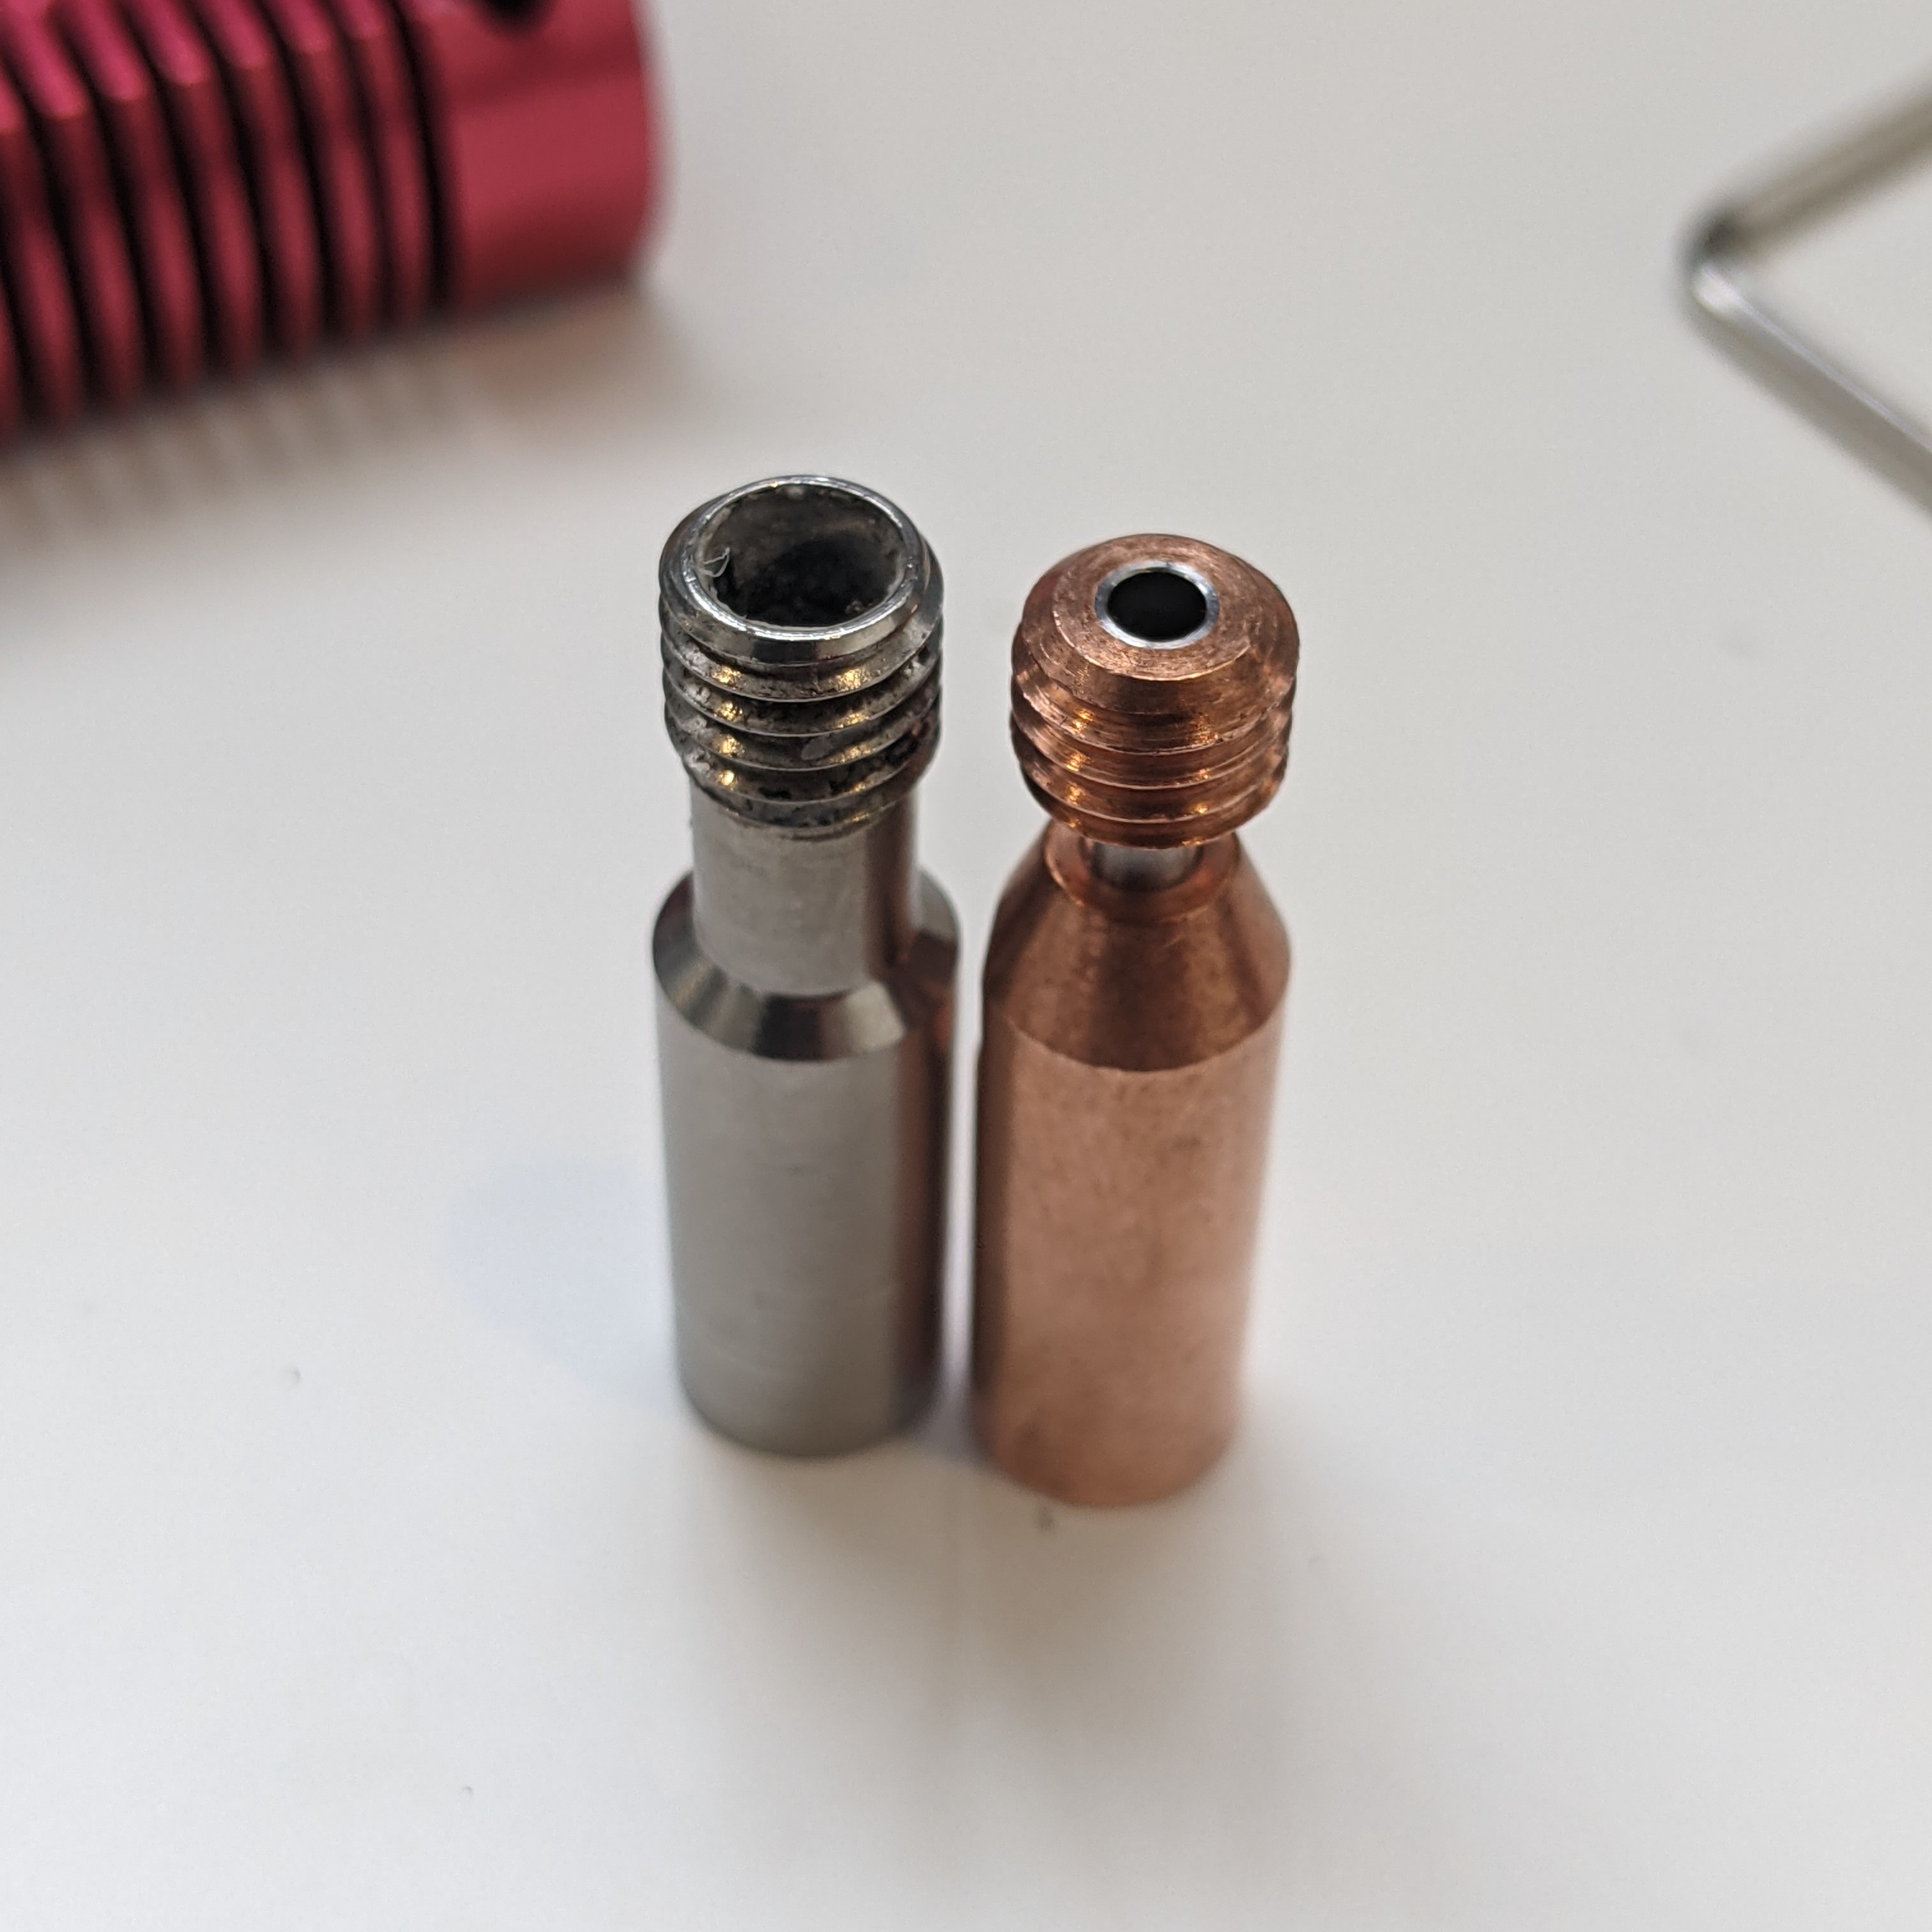
If stock parts continue to fail consider upgrading to hardware designed for thermal stability. These components offer superior resistance to heat migration and mechanical stress.
Install a Stainless Steel Heat Break
Brass and copper alloy heat breaks conduct heat too efficiently for low-temperature filaments. Switching to a stainless steel heat break reduces thermal conductivity and contains heat within the heater block. This proven upgrade significantly reduces clogs with PLA and PETG materials.
Try a Titanium Heat Break for Tough Jobs
Titanium heat breaks provide extremely low thermal conductivity for the most demanding applications. They act as a robust thermal barrier ideal for polycarbonate or continuous printing operations. While more expensive they offer exceptional reliability for preventing premature softening.
Test Across Multiple Filament Types

If your printer clogs with every material the issue lies in your setup rather than the filament. Cross-material testing helps isolate hardware problems from material-specific quirks.
Print with PLA PETG and ABS
Observe if the clog pattern remains consistent across different materials. If clogs happen with all three the problem is likely hardware or settings related. If clogs only occur with PLA the issue is probably heat creep or ambient temperature.
Use the Voronoi Bunny Test Model
The Stanford Easter Bunny Voronoi model serves as the ultimate stress test for your system. Its complex geometry requires thousands of retractions that reveal weak points quickly. If your printer completes this model without clogging your setup is solid.
Avoid These Common Mistakes
Experienced users often make simple errors that sabotage their prints. Avoiding these pitfalls ensures long-term reliability and consistent output.
Using Generic Assembly Guides
Applying instructions meant for one hotend to a different model causes chronic issues. Each hotend has unique tolerances that require specific assembly steps.
Assuming Cold Pulls Fixed the Problem
A failed cold pull leaves residue behind that mimics a clear path. Always verify the tip shape with a macro photo to confirm success.
Ignoring Ambient Temperature
Printing PLA in a closed box guarantees heat creep issues. Open the door and add external fans if needed to manage environmental impact.
Leaving Default Retraction Settings
Default slicer values are often too high for modern hotend designs. Tune retraction to 0.6 mm or lower for your specific setup.
Frequently Asked Questions About 3D Printer Clogging
Why does my 3D printer keep clogging after 20 layers?
This pattern usually indicates heat creep where heat migrates up the heat break and softens filament prematurely. The cumulative effect of retraction pulls the filament into the hot zone until it expands and blocks the path. Reducing retraction distance and improving cooling typically resolves this issue.
How do I know if my clog is caused by heat creep?
Inspect the unloaded filament tip for a flared or bulbous shape which confirms expansion in the heat break. A shell around a solid core also indicates premature softening. These visual cues distinguish thermal issues from simple nozzle blockages.
What retraction distance prevents clogs on direct drive systems?
Set your retraction distance to 0.6 mm to prevent the filament from entering the heat creep zone. Default values of 4 to 6 mm are often too aggressive and pull solid filament into heated areas. Lower values keep the filament in the safe cooling zone.
Should I print PLA with the enclosure door closed?
No you should always print PLA with the enclosure door open to allow heat dissipation. Closed enclosures trap heat and raise ambient temperatures which worsens heat creep. Only use enclosed printing for high-temperature materials like ABS or polycarbonate.
Does upgrading to a titanium heat break stop clogs?
Yes titanium heat breaks offer extremely low thermal conductivity that acts as a barrier against heat creep. This upgrade is highly effective for preventing premature softening in the cold zone. It is particularly useful for high-temperature filaments and continuous printing.
Key Takeaways for Fixing Your 3D Printer Clogging Issues

A 3D printer that keeps clogging is usually suffering from heat creep or aggressive retraction settings rather than a broken nozzle. You can solve most issues by reducing retraction to 0.6 mm and ensuring your cooling system maintains proper thermal gradients. Upgrading to stainless steel or titanium heat breaks provides a permanent solution for persistent thermal problems.
Start by inspecting your filament tips for flaring and verifying your hotend assembly includes fresh thermal paste. Keep enclosure doors open when printing PLA and disable any long retraction features in your slicer. These proactive steps will eliminate clogs and ensure smooth printing for thousands of layers.