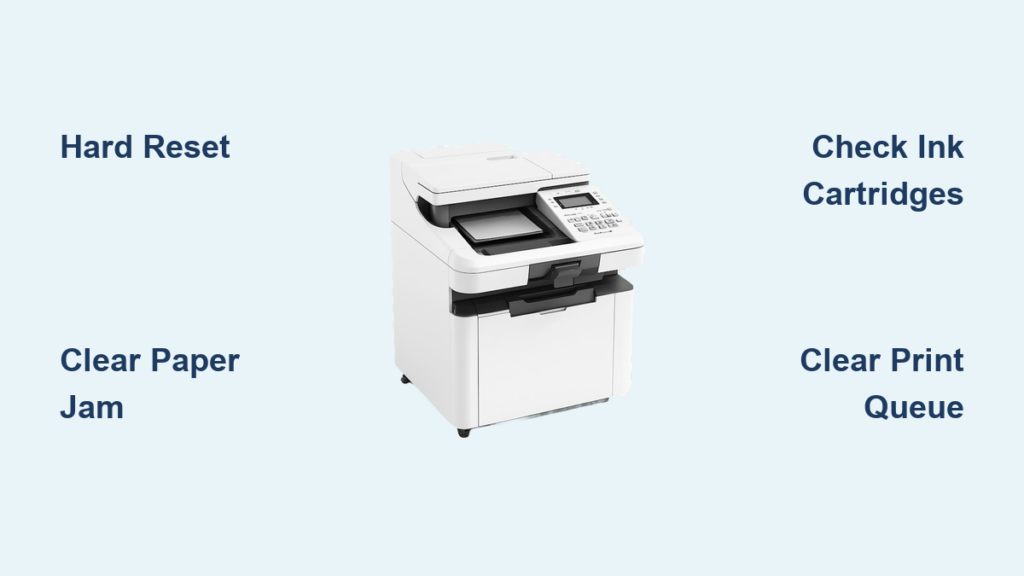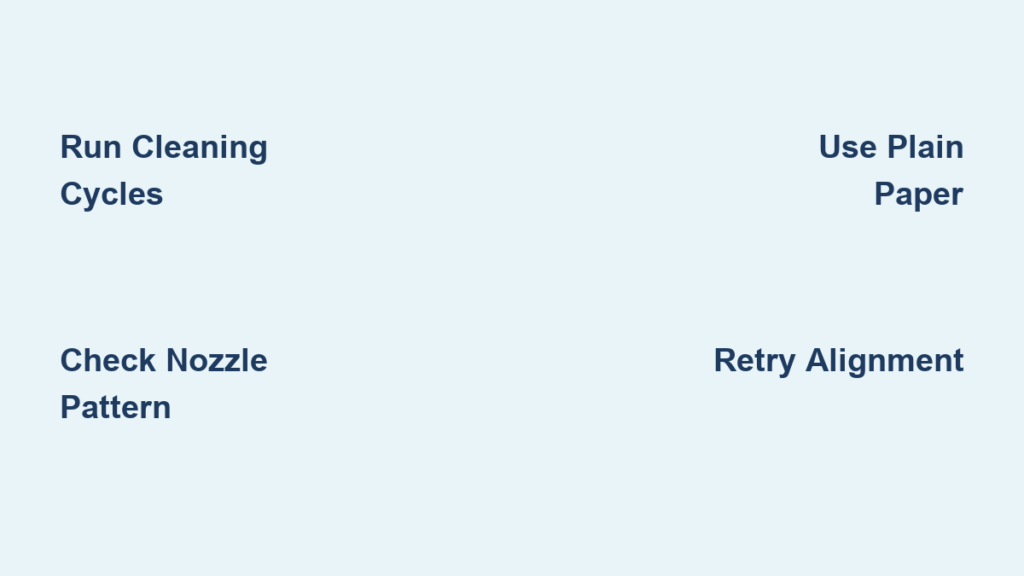
Horizontal gaps, misaligned vertical lines, and frustrating banding are classic signs that your Epson printer head alignment is not working. This issue is common across Epson models, especially the ET-2750, and often appears after periods of inactivity or following a paper jam. The good news is that the cause is usually partial nozzle clogs, not hardware failure or low ink. A clean nozzle check can be misleading because the alignment process uses finer ink control that reveals blockages the standard test misses. In this guide, you will learn the exact cleaning, diagnosis, and alignment sequence that resolves this problem, often within five cleaning cycles.
Run Print Head Cleaning First
Before you attempt any alignment, clean the print head to clear dried ink and debris. Even when your nozzle check looks perfect, hidden blockages can still prevent the alignment pattern from printing correctly. Cleaning restores the steady ink flow needed for accurate calibration.
Perform a Standard Cleaning Cycle
Follow these steps to start the first cleaning cycle on your Epson printer:
- Turn on your printer and confirm it is connected to your computer.
- Open the printer software:
– Windows: Go to Control Panel, then Devices and Printers, right-click your Epson printer, select Printer Settings, and open the Maintenance tab.
– Mac: Open System Settings, go to Printers and Scanners, select your printer, click Options and Supplies, then Utility, and open Printer Utility. - Click Print Head Cleaning and confirm the prompt.
- Wait for the cycle to finish, which usually takes 1 to 2 minutes.
- Do not power off the printer during the process.
Pro Tip: Epson recommends waiting at least 10 minutes between cleaning cycles to prevent overheating. Avoid running more than 3 to 4 cleanings back-to-back without a break.
Repeat Cleaning Up to Five Times When Needed
If your first cleaning cycle does not fix the problem, repeat the process. In one documented case with the Epson ET-2750, the user needed five cleaning cycles before the alignment pattern finally printed completely.
- Run a nozzle check after each cycle to track progress.
- If all lines look solid but alignment still fails, keep cleaning.
- Do not skip the nozzle check, since it confirms nozzles are firing.
Warning: Excessive cleaning wastes ink and can flood the print head. Stop after 5 cycles unless Epson support advises otherwise.
Print and Analyze the Nozzle Check Pattern

A nozzle check is your best diagnostic tool for confirming ink flow. This step is critical because even partial clogs can block the fine numbers used in alignment while leaving the main test lines looking perfect.
Access the Nozzle Check Function
Use the right method for your operating system:
- Windows: Maintenance tab, then Nozzle Check
- Mac: EPSON Printer Utility, then Nozzle Check
- Printer panel (if available): Hold the Stop or Ink button for 3 to 5 seconds, depending on your model
Print the pattern using plain A4 or Letter paper for the most accurate results.
Interpret the Results Correctly
Look closely at the printed pattern and compare it to these benchmarks:
- Solid, unbroken lines mean your nozzles are clear
- Gaps or broken lines indicate clogs that need more cleaning
- All lines good but alignment numbers missing suggests a subtle clog that only affects alignment
Key Insight: In the ET-2750 case, the nozzle check passed cleanly, yet the alignment numbers did not print. This points to ink starvation during high-precision alignment mode, not a full blockage.
Fix the Print Head Alignment Process
Once your nozzles are clear, run the alignment utility to calibrate the print head position. This step ensures colors and lines line up exactly where they should.
Load the Correct Paper Type
Always use plain A4 or Letter size paper for alignment. Do not use photo paper, envelopes, or thick media, since the printer may misread the paper type and produce errors.
- Load 1 to 2 sheets in the sheet feeder.
- Make sure the paper is flat and not curled at the edges.
Run Automatic Alignment on Windows
Here is the official Windows procedure for print head alignment:
- Make sure A4 or Letter size plain paper is loaded.
- Access the printer software and open the Maintenance tab.
- Click the Print Head Alignment button.
- Select Automatic when prompted.
- Follow the on-screen instructions to align the print head.
Note: If the test pattern prints with missing numbers, stop and run another cleaning cycle before proceeding.
Run Alignment on Mac OS
For newer macOS versions, follow these steps:
- Open EPSON Printer Utility.
- Select your printer in the Printer List window and click OK.
- Click Print Head Alignment.
- Follow the prompts to print and select the clearest pattern.
For older Mac OS 8.6 to 9.x systems:
- Open the Print or Page Setup dialog box.
- Click the Utility icon button.
- Click Print Head Alignment.
- Follow the on-screen instructions.
Critical: Do not press the paper button to cancel during alignment. This interrupts calibration and can cause errors.
Diagnose Alignment Pattern Failures

If the alignment test prints incorrectly, analyze the pattern to choose your next move. Different symptoms point to different underlying issues.
Missing Numbers on the Alignment Page
This is a telltale sign of a partial nozzle clog, even when the nozzle check passed perfectly.
- Cause: Alignment uses fine ink control, and slight obstructions prevent number printing.
- Fix: Run 1 to 2 more cleaning cycles, then retry alignment.
Pro Tip: Print the alignment pattern multiple times. If numbers appear intermittently, it confirms inconsistent ink flow.
Horizontal Gaps and Banding Issues
Look for these common visual defects:
- Horizontal gaps usually mean a misaligned print head or clogged nozzles
- Banding or stripes indicate uneven ink deposition, so clean the head and re-align
- Vertical line misalignment suggests the printer failed to detect the correct pattern, so ensure good lighting during scanning or manually select the best option
What to Do When Alignment Fails Repeatedly
If cleaning and alignment still fail after 5 cycles, try these recovery steps:
- Check for paper jam debris by opening the paper path and inspecting rollers and sensors.
- Power cycle the printer by turning it off, unplugging for 60 seconds, then restarting.
- Update printer firmware and drivers from Epson’s official website.
- Try alignment from a different computer or USB cable to rule out connection issues.
Prevent Future Alignment Issues
Prevention is far easier than repair, especially for printers that sit idle for days at a time. A few simple habits will keep your Epson running smoothly.
Maintain Regular Usage
- Print at least once every 7 to 10 days to prevent ink from drying in the nozzles.
- Run a nozzle check weekly if your usage is light.
- Perform cleaning at the very first sign of streaks or gaps.
Optimize Paper and Environment
- Always use plain paper for alignment and calibration tasks.
- Store paper in a dry, flat place to prevent curling.
- Keep the printer in a dust-free area away from direct sunlight and humidity swings.
Follow Best Practices for Reliable Results
- Let cleaning and alignment cycles finish completely every time.
- Use Automatic alignment mode unless manual is specifically required.
- Never press buttons to cancel test prints mid-cycle.
- Avoid third-party inks, since they can clog heads and void your warranty.
When to Seek Professional Help
Sometimes the issue goes beyond what home troubleshooting can solve. Knowing when to escalate saves you time and protects your printer.
Signs of Hardware Failure
- No ink prints at all, even after multiple cleanings
- Printer makes grinding or clicking noises
- Error codes appear, such as “Check Printer” or “Service Required”
Contact Epson Support
- Visit epson.com/support to access official resources
- Provide your exact model number, such as ET-2750, plus any error details
- Request a firmware update or a print head inspection if needed
Note: If your printer is under warranty, do not disassemble it. Unauthorized repairs can void your coverage.
Frequently Asked Questions About Epson Print Head Alignment
Why does my Epson printer head alignment fail even when the nozzle check looks fine?
The nozzle check and alignment use different ink channels and timing. A subtle partial clog can leave the main test lines printing correctly while blocking the fine numbers used in alignment. This is why epson printer head alignment not working is so common even on printers that seem healthy.
How many cleaning cycles does it take to fix Epson print head alignment not working?
In the documented ET-2750 case, the issue resolved after five cleaning cycles. Most users see improvement within 2 to 3 cycles, but stubborn clogs may need the full five. Always wait at least 10 minutes between cycles to prevent overheating.
Can I use photo paper for Epson print head alignment?
No. You must use plain A4 or Letter size paper for alignment. Photo paper, envelopes, and thick media can cause the printer to misread the paper type and produce alignment errors.
What happens if I cancel the alignment test by pressing the paper button?
Pressing the paper button during alignment interrupts calibration and can trigger errors or incomplete patterns. Always let the alignment cycle finish completely before touching any buttons.
How often should I run alignment on my Epson printer?
Run alignment whenever you notice print quality issues, after a major cleaning cycle, or following a paper jam. For prevention, align once every few months if you print regularly. Daily users rarely need manual alignment.
Is there a difference between automatic and manual alignment?
Yes. Automatic alignment uses the printer’s sensors to detect the best pattern and is recommended by Epson for most users. Manual alignment requires you to choose the best pattern by eye and is only needed when automatic mode fails repeatedly.
Final Thoughts on Fixing Epson Print Head Alignment
When Epson printer head alignment is not working, the fix is almost always a matter of persistence rather than replacement. Start with a print head cleaning cycle, then run a nozzle check to verify ink flow, and finally attempt alignment. If the pattern prints with missing numbers, repeat the cleaning process up to five times. Documented cases show that even stubborn alignment failures on the ET-2750 resolve after the fifth cycle.
The most important takeaway is that a passing nozzle check does not guarantee alignment will succeed. The alignment process is more sensitive, so treat it as a separate diagnostic. Keep your printer active with weekly prints, store paper properly, and always use plain A4 or Letter paper for calibration. If all five cleaning cycles fail, check for paper jam debris and update your drivers before contacting Epson support. With this sequence, you can restore crisp, gap-free printing and prevent future alignment headaches.