Your HP printer suddenly stops printing black, leaving documents blank or strangely colored. This common hp printer black ink not working issue usually stems from clogged nozzles or dirty contacts rather than a dead cartridge.
You can fix this quickly by running cleaning cycles, wiping nozzle plates, and checking for firmware blocks. This guide walks you through every proven step to restore crisp black text without wasting money on unnecessary replacements.
Run the Built-in Printhead Cleaning Cycle
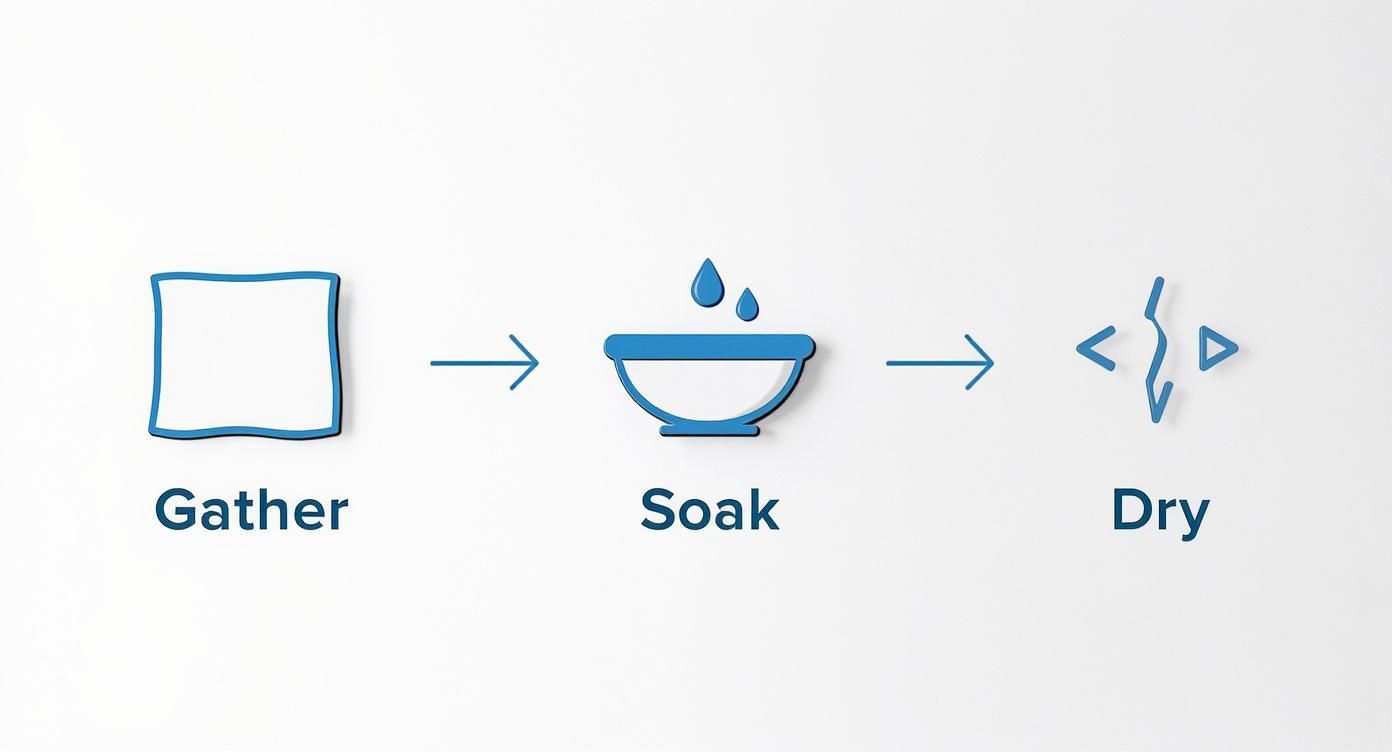
Automated cleaning resolves over 70% of black ink failures caused by dried ink. Your printer has a dedicated utility to flush out clogged nozzles safely.
Access Tools via Control Panel or App
Most HP models let you start cleaning directly from the screen.
- Tap Setup on your display.
- Select Tools then choose Clean Printhead.
- Wait for the cycle to finish, which takes about two minutes.
If your model lacks a screen, open the HP Smart app on your phone. Navigate to Printer Settings and select Clean Printheads to start the process remotely.
Use the Web Interface for Remote Cleaning
You can also access cleaning tools through your computer browser.
- Find your printer IP address in network settings.
- Type the IP into your browser address bar.
- Go to Device Services and click Clean Printheads.
Limit Cleaning to Two Cycles
Run one cleaning cycle then print a Print Quality Report. If black is still missing, run exactly one more cycle.
Do not exceed three cycles. Excessive cleaning wastes ink and pushes dried particles deeper into the mechanism.
Manually Clean Clogged Printhead Nozzles

Physical cleaning is necessary when automated cycles fail to remove crusted ink. You will need specific supplies to avoid damaging sensitive components.
Gather Distilled Water and Lint-Free Cloth
Collect these items before starting:
* Lint-free cloth or coffee filter
* Distilled water only
* Protective gloves
Never use tap water since minerals cause further clogging. Paper towels shed fibers that block nozzles permanently.
Wipe the Copper Nozzle Plate
Follow these steps carefully:
1. Turn off the printer and open the cartridge door.
2. Remove the black ink cartridge gently.
3. Dampen your cloth with distilled water without soaking it.
4. Gently dab the copper-colored plate on the cartridge bottom.
5. Look for black ink transferring to the cloth.
6. Let the cartridge air dry for three minutes.
Warning: Never touch the electrical contacts or scrub hard. Reinsert the cartridge and print a test page immediately.
Identify Composite Black Output Symptoms
Your text may appear brown, green, or muddy gray instead of sharp black. This indicates composite black, where the printer mixes color inks because it cannot detect black ink.
Check Ink Levels and Cartridge Weight
Open HP Smart or Printer Properties on your computer. If the black level shows 0%, the cartridge is empty.
Shake the cartridge gently to confirm. A very light feel means it is empty. Replace it immediately to stop the printer from mixing colors.
Remove Protective Tape Completely
New cartridges often have orange or clear plastic strips covering the nozzle.
- Peel off all tape from the bottom plate.
- Remove any plastic clip protecting contacts.
- Ensure the cartridge clicks firmly into place.
Failure to remove these barriers prevents any ink flow. Complete the alignment prompt if it appears on your screen.
Clean Electrical Contacts for Better Detection
Dirty copper contacts cause “cartridge not detected” errors even with full ink. Cleaning them restores communication between the printer and cartridge.
Use a Pencil Eraser on Contacts
- Remove the black cartridge from the carriage.
- Take a clean, dry pencil eraser.
- Gently rub the copper contacts on the cartridge until shiny.
- Wipe the matching contacts inside the printer carriage.
- Blow away any eraser dust carefully.
Do not use liquid on electrical contacts. Moisture causes short circuits and permanent damage.
Reseat the Cartridge Firmly
Insert the cartridge back into its slot. Push until you hear a distinct click.
Misalignment prevents proper electrical connection. Print a test page right away. If errors persist, try the cartridge in another printer to isolate the fault.
Align Printhead After Restoring Ink Flow

Restored ink flow often results in faded or doubled text if the printhead is misaligned. Calibration ensures sharp character edges.
Start the Alignment Utility
Access this tool through your printer menu:
* Go to Setup > Tools > Align Printhead.
Alternatively, use the HP Smart app under Printer Settings. Select Align Printheads to begin the calibration sequence.
Complete the Calibration Process
The printer generates a page with grids and patterns.
- Scan the page back using the scanner bed if prompted.
- Or select the clearest pattern squares using control panel buttons.
Finish this process before printing important documents. Misaligned heads waste ink and reduce overall quality.
Resolve Third-Party Cartridge Firmware Blocks
HP firmware updates sometimes block compatible or remanufactured cartridges. You may see “Cartridge Problem” or “Non-genuine Cartridge” warnings.
Recognize Firmware Rejection Signs
Common error messages include:
* “Protective Block Activated”
* “Cartridge Problem”
* “Ink System Failure”
These indicate the anti-counterfeit system is rejecting the chip. The cartridge might be functional but blocked by software.
Evaluate Firmware Rollback Options
Advanced users can revert to older firmware versions.
- Disconnect the printer from Wi-Fi to stop auto-updates.
- Download an older driver version from the HP support site.
- Install manually via USB connection.
Note: This may void your warranty. Consider installing a genuine HP cartridge to test if the issue is purely firmware-related.
Replace Failed Printhead Components

Some HP models like OfficeJet Pro and Photosmart series have separate, replaceable printheads. These components can fail independently of cartridges.
Identify Replaceable Printhead Models
Check if your model number matches these series:
* HP OfficeJet Pro 8600, 8620, 8720
* HP OfficeJet 8015, 8025
* HP Photosmart 7520, 7510
If your model is on this list, the printhead is a user-replaceable part.
Diagnose Final Hardware Failure
The printhead is likely dead if:
* No black ink prints despite a new cartridge.
* Manual wiping shows no ink on the cloth.
* All cleaning cycles and contact cleaning failed.
Search for your specific printhead part number. If the replacement cost exceeds $50 and your printer is old, buying a new printer may be more economical.
Prevent Future Black Ink Failures
Regular maintenance prevents 80% of black ink issues. Simple habits keep nozzles clear and contacts clean.
Print One Page Weekly
Set a reminder to print a page with black text every week.
- Use a test page or calendar with solid black lines.
- Ensure the page contains actual black ink usage.
- Do not rely on color-only prints.
Ink dries in nozzles after 14 days of inactivity. Regular flow keeps the system primed.
Store Spare Cartridges Correctly
Keep unused cartridges in their original sealed packaging.
- Store them upright in a cool, dry place.
- Use within six months of opening the package.
- Avoid extreme temperatures or direct sunlight.
Dried-out cartridges cannot be revived. Proper storage extends their usable life significantly.
Frequently Asked Questions About HP Black Ink Issues
Why does my HP printer print green or brown text instead of black?
Your printer is using composite black because the black cartridge is empty or undetected. It mixes cyan, magenta, and yellow inks to simulate black. Replace the black cartridge or clean the contacts to fix this.
How many times can I run the printhead cleaning cycle?
You should run the cleaning cycle no more than two or three times consecutively. Exceeding this limit wastes ink and can push dried particles deeper into the nozzles, making clogs worse.
Can I use tap water to clean my HP printhead?
No, never use tap water for cleaning. Minerals in tap water leave deposits that clog nozzles permanently. Use only distilled water and a lint-free cloth for safe manual cleaning.
What should I do if my third-party cartridge stops working?
HP firmware updates often block non-genuine cartridges. Try cleaning the copper contacts with a pencil eraser first. If that fails, you may need to revert to older firmware or switch to genuine HP ink.
How do I know if my printhead is dead or just clogged?
If manual cleaning, contact wiping, and multiple cleaning cycles fail to produce black ink, the printhead may be dead. This applies mainly to models with separate printhead components like OfficeJet Pro series.
Key Takeaways for Fixing HP Printer Black Ink Not Working
Restoring black ink requires a systematic approach starting with automated cleaning and moving to manual intervention. Most hp printer black ink not working cases resolve by running two cleaning cycles, wiping nozzle plates with distilled water, and ensuring electrical contacts are spotless.
Prevent future issues by printing one black page weekly and storing cartridges properly. If all steps fail on models with separate printheads, consider replacing the printhead unit or evaluating the cost of a new printer. Start with the cleaning cycle today to get your documents printing sharply again.